
Seat Occupancy Installation
START HERE
If you purchased one of our 'Fenix' Range, please see installation instructions here.

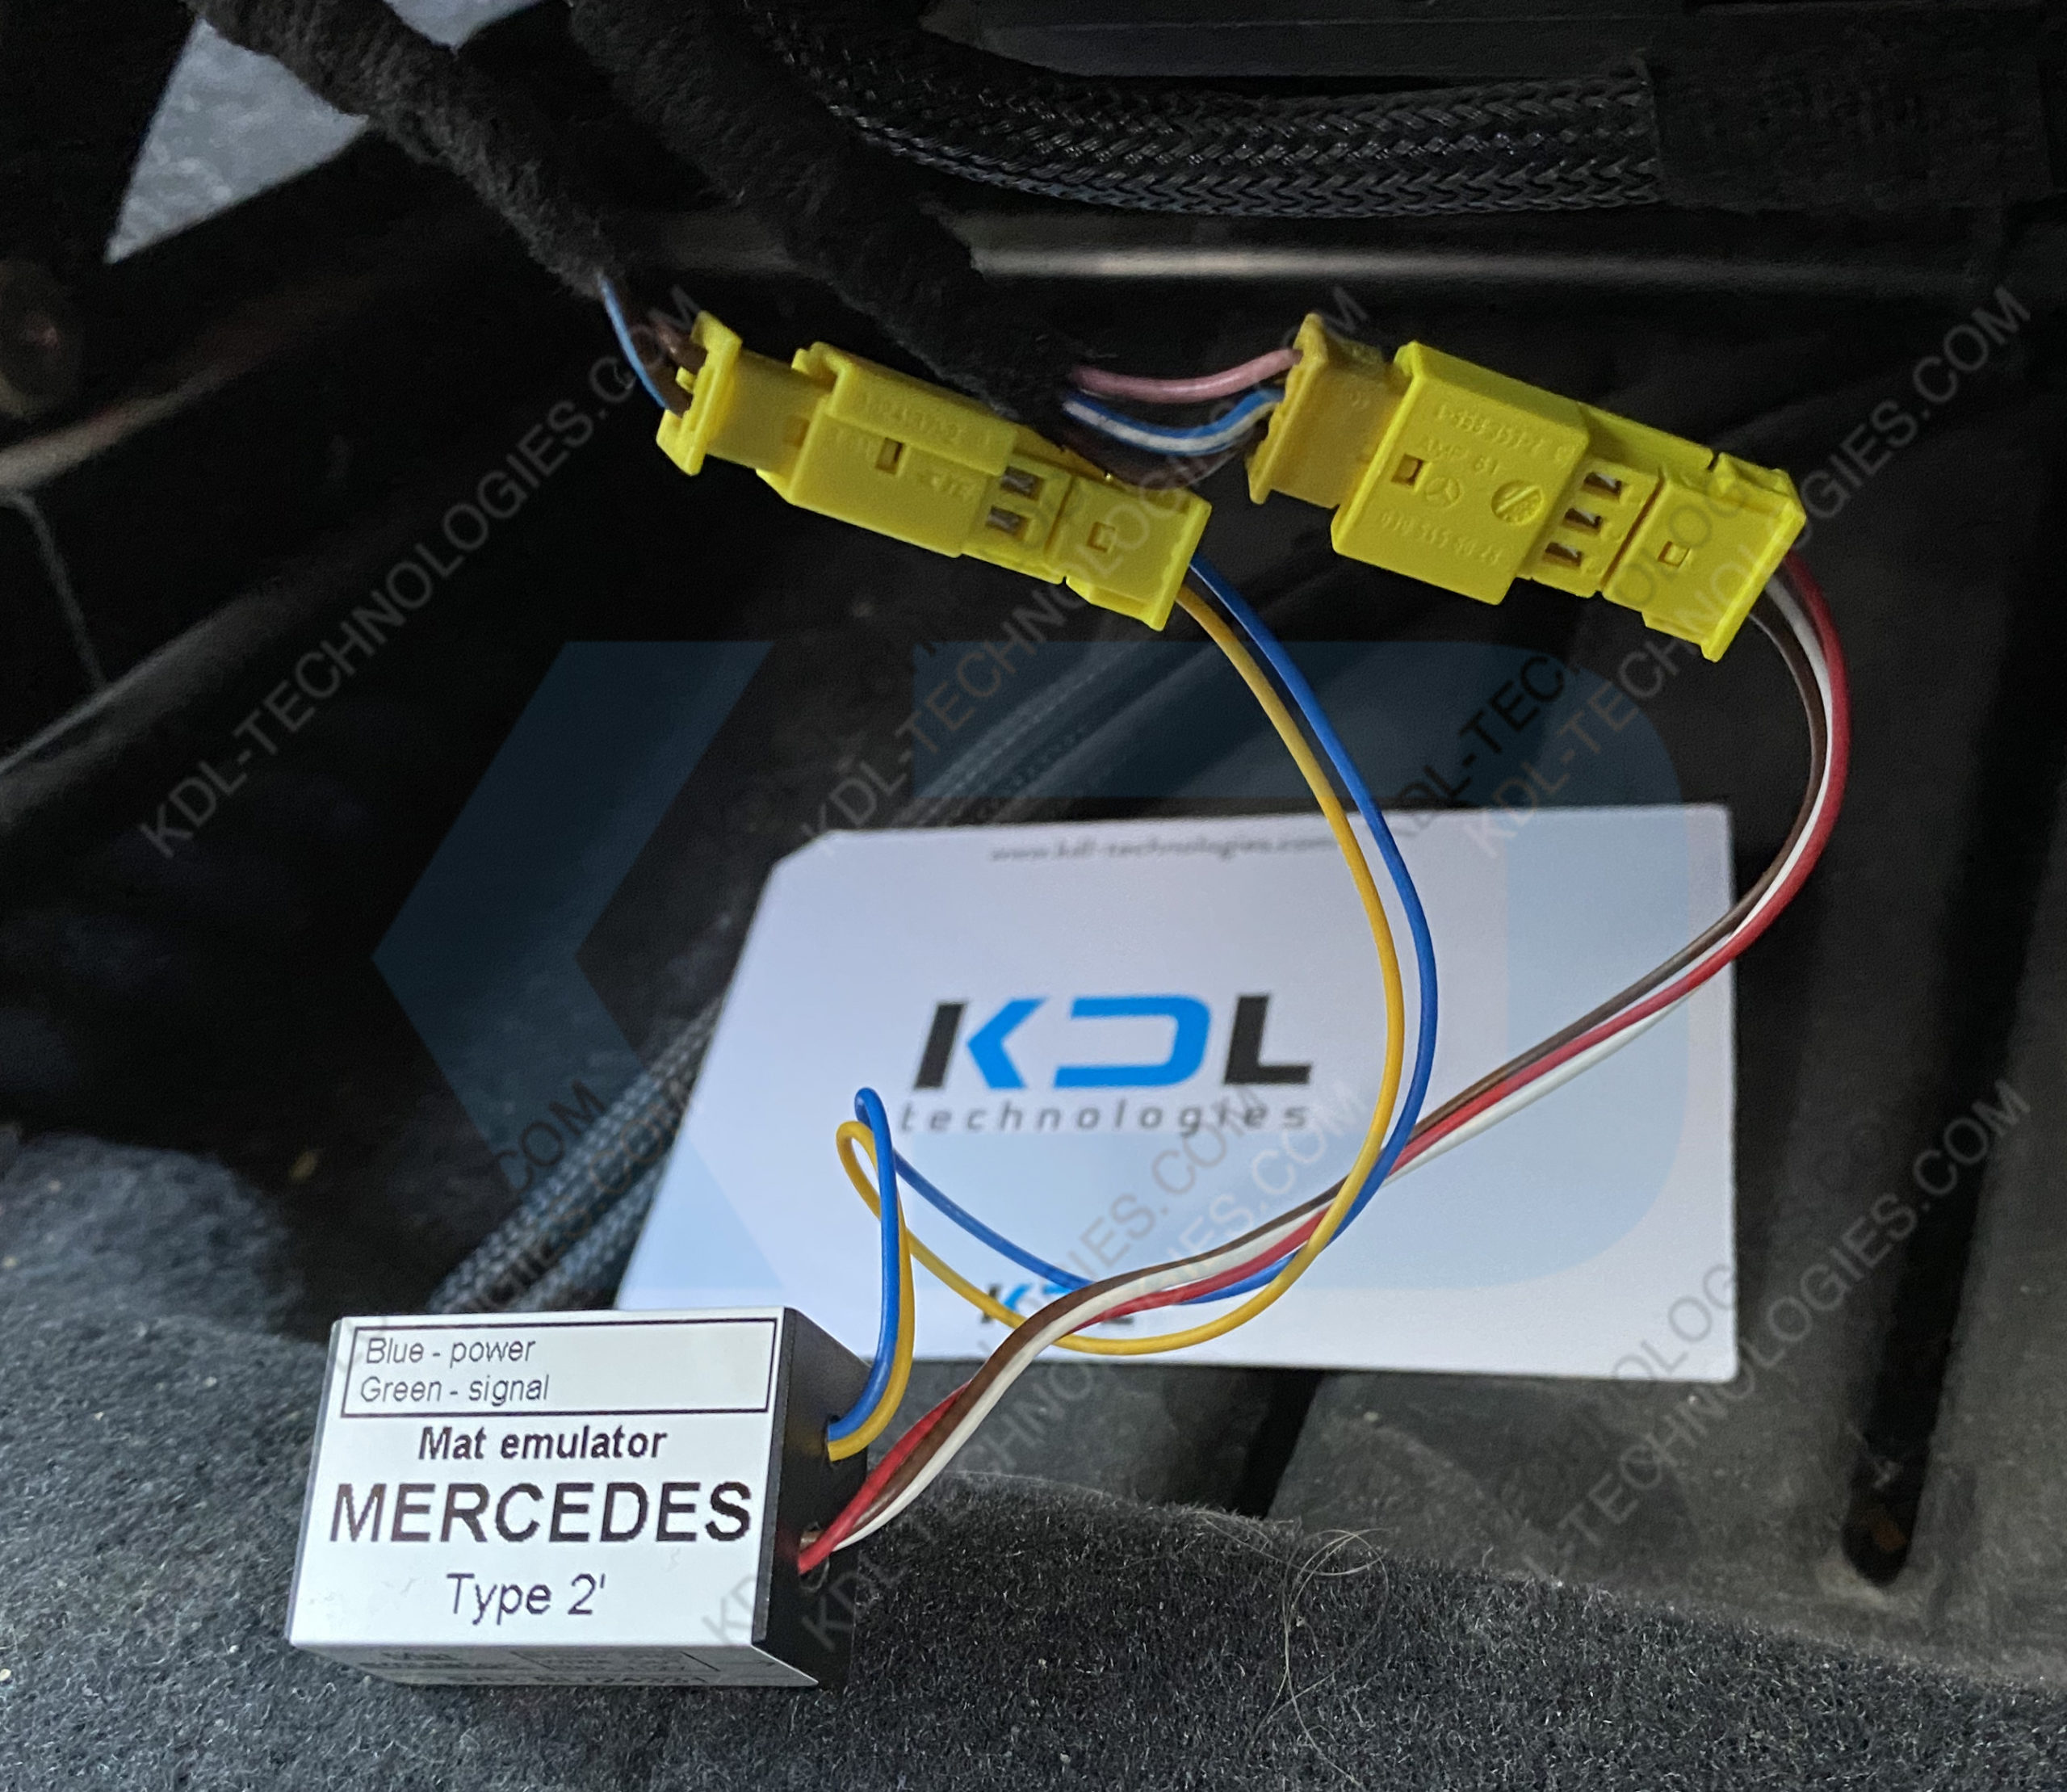
If you purchased one of our KDL emulators, continue reading.
Your emulator has adjustable switches inside which allow you to adjust the settings to best match your specific seat.
Carefully open the rear of the emulator by peeling back the label, and opening the cover.
You will see 3 adjustable switches.
Changing the settings will not harm your vehicle. The most common settings are below, but failing that you can try all 8 possible variations.

W176 - Type 6 (Pre-Facelift), 5, 4, 3
W204 - Type 3 (Pre-Facelift), 5, 6
W212 - Type 6 (Pre-Facelift), 5, 4 ,3
Procedure:
- Turn the ignition off, take out the key.
- Change the switch position.
- Turn the ignition on.
- Read the codes using diagnostic software (that would be good if you took a photo of them before resetting).
- Reset the codes.
If it is ok, leave this switch position as it works for your car.
If the seat mat fault code can’t be erased or goes back, repeat the procedure with another switch setting.


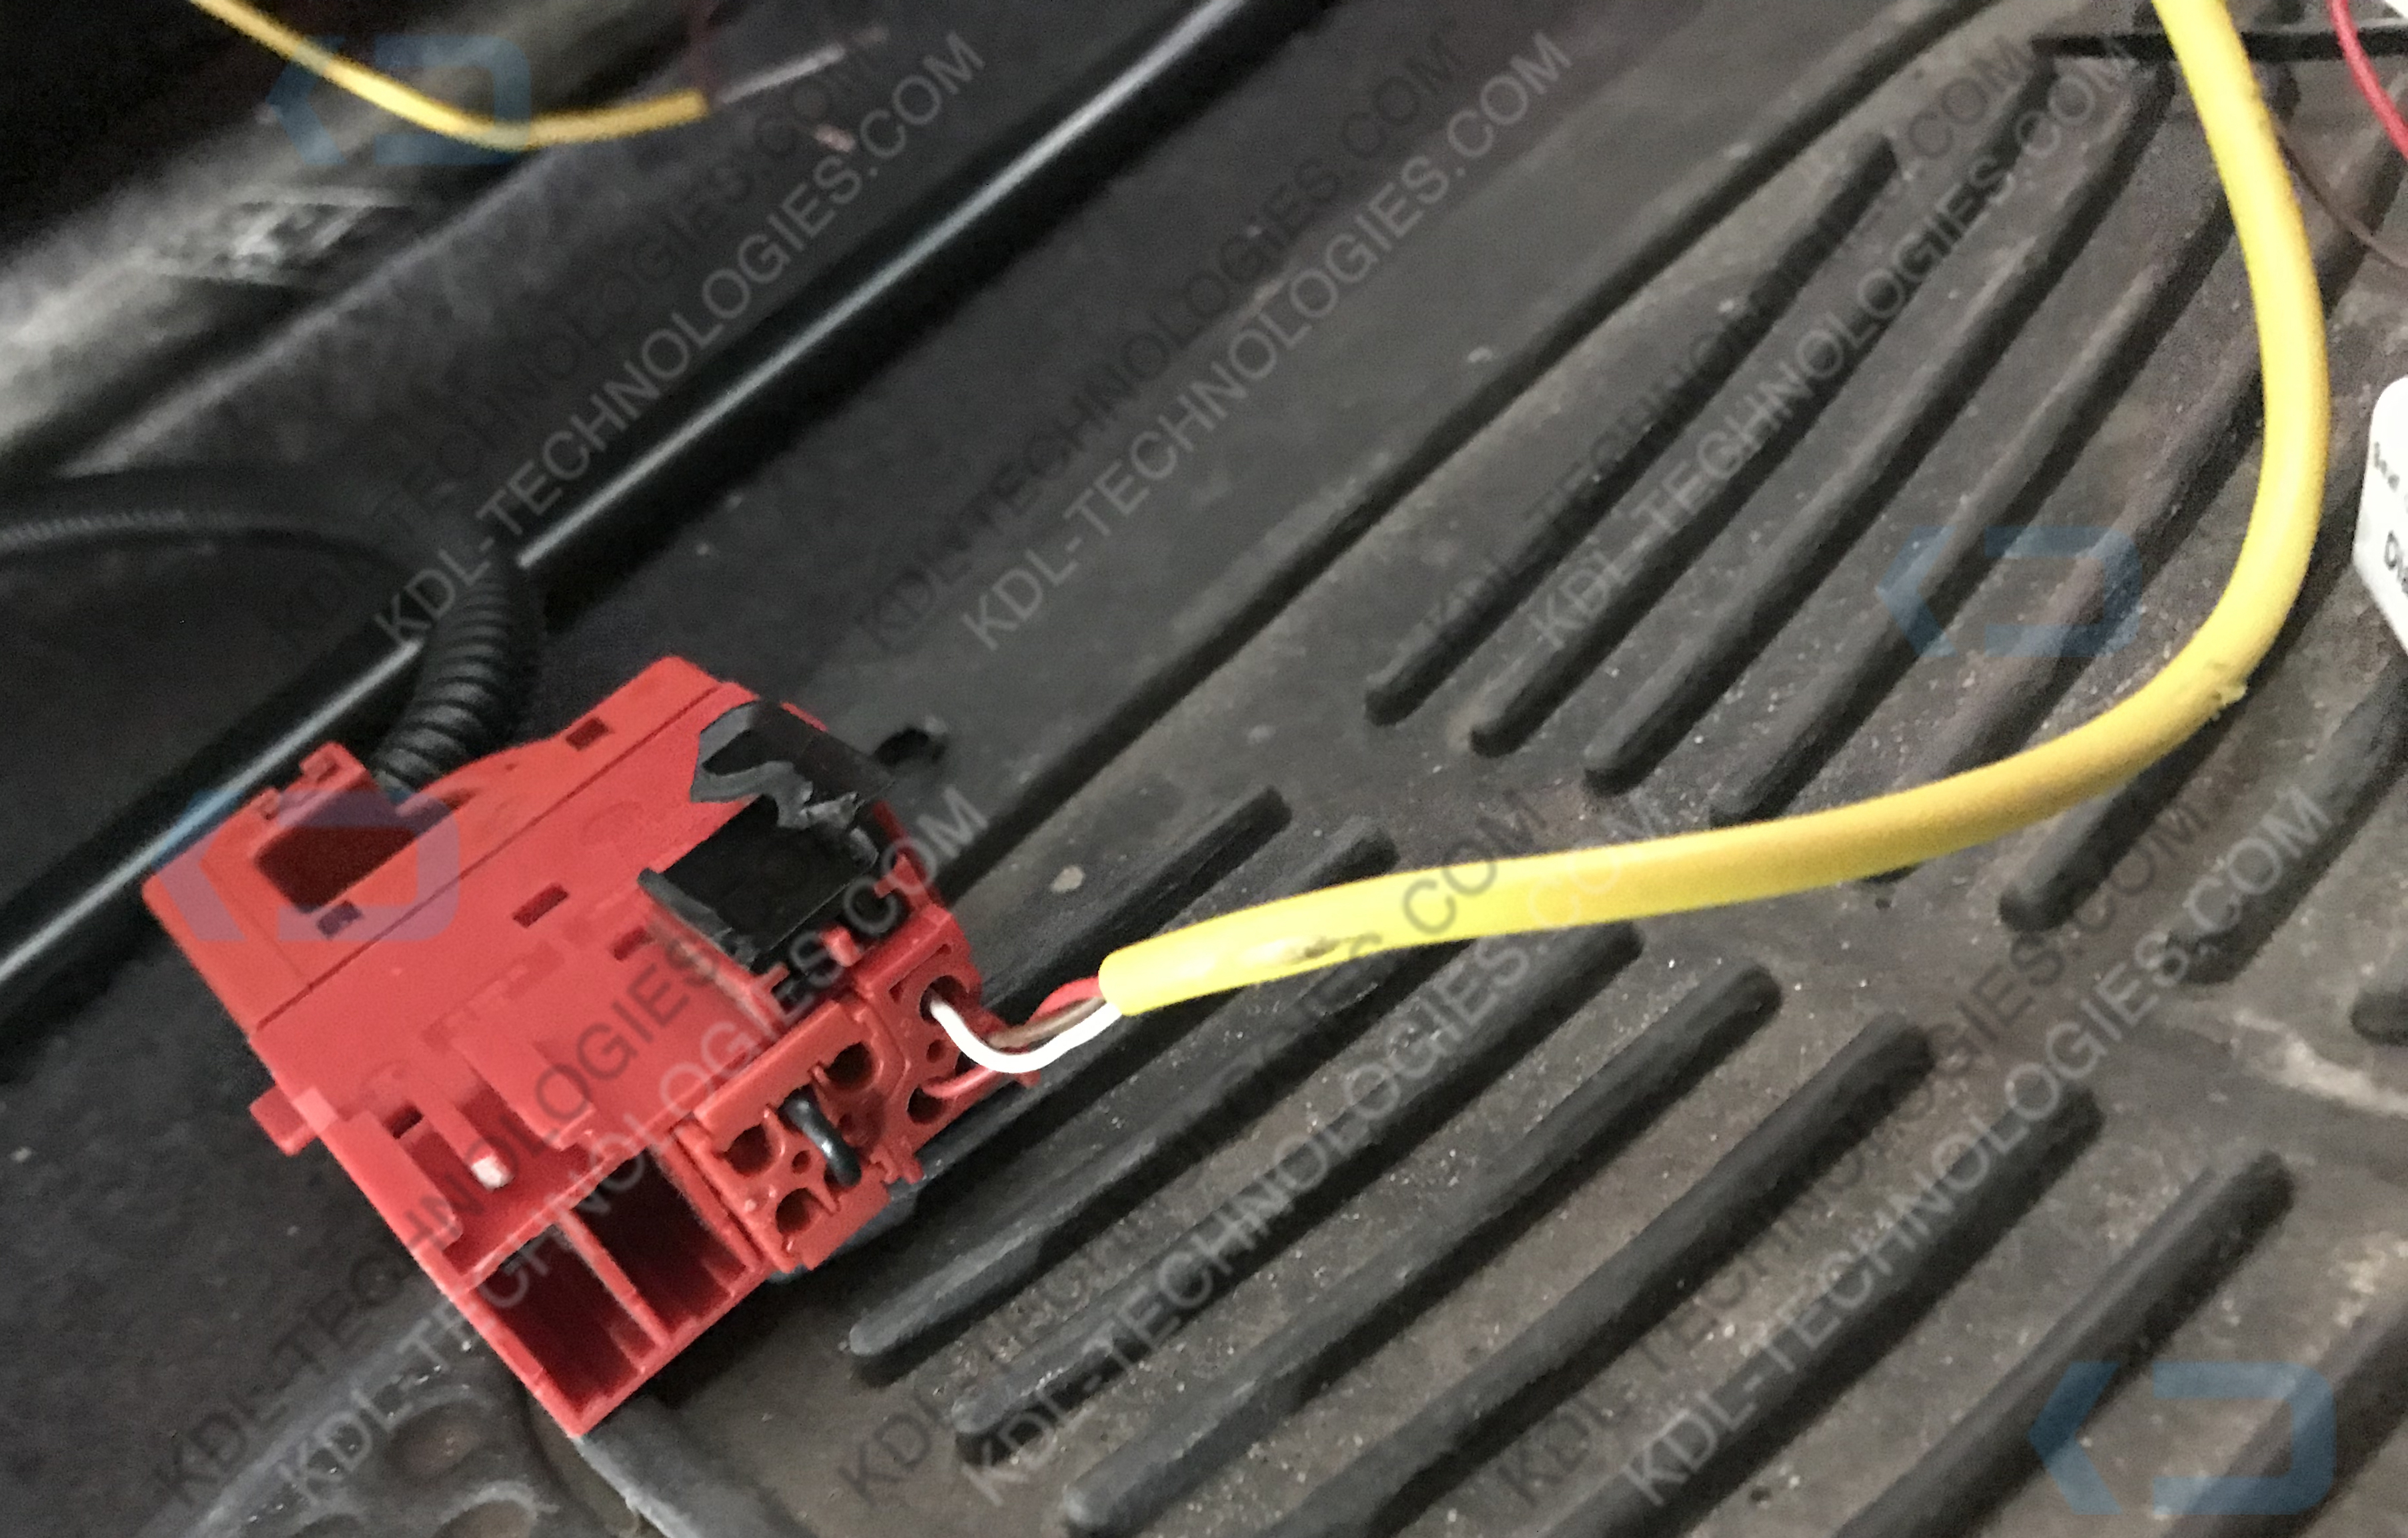


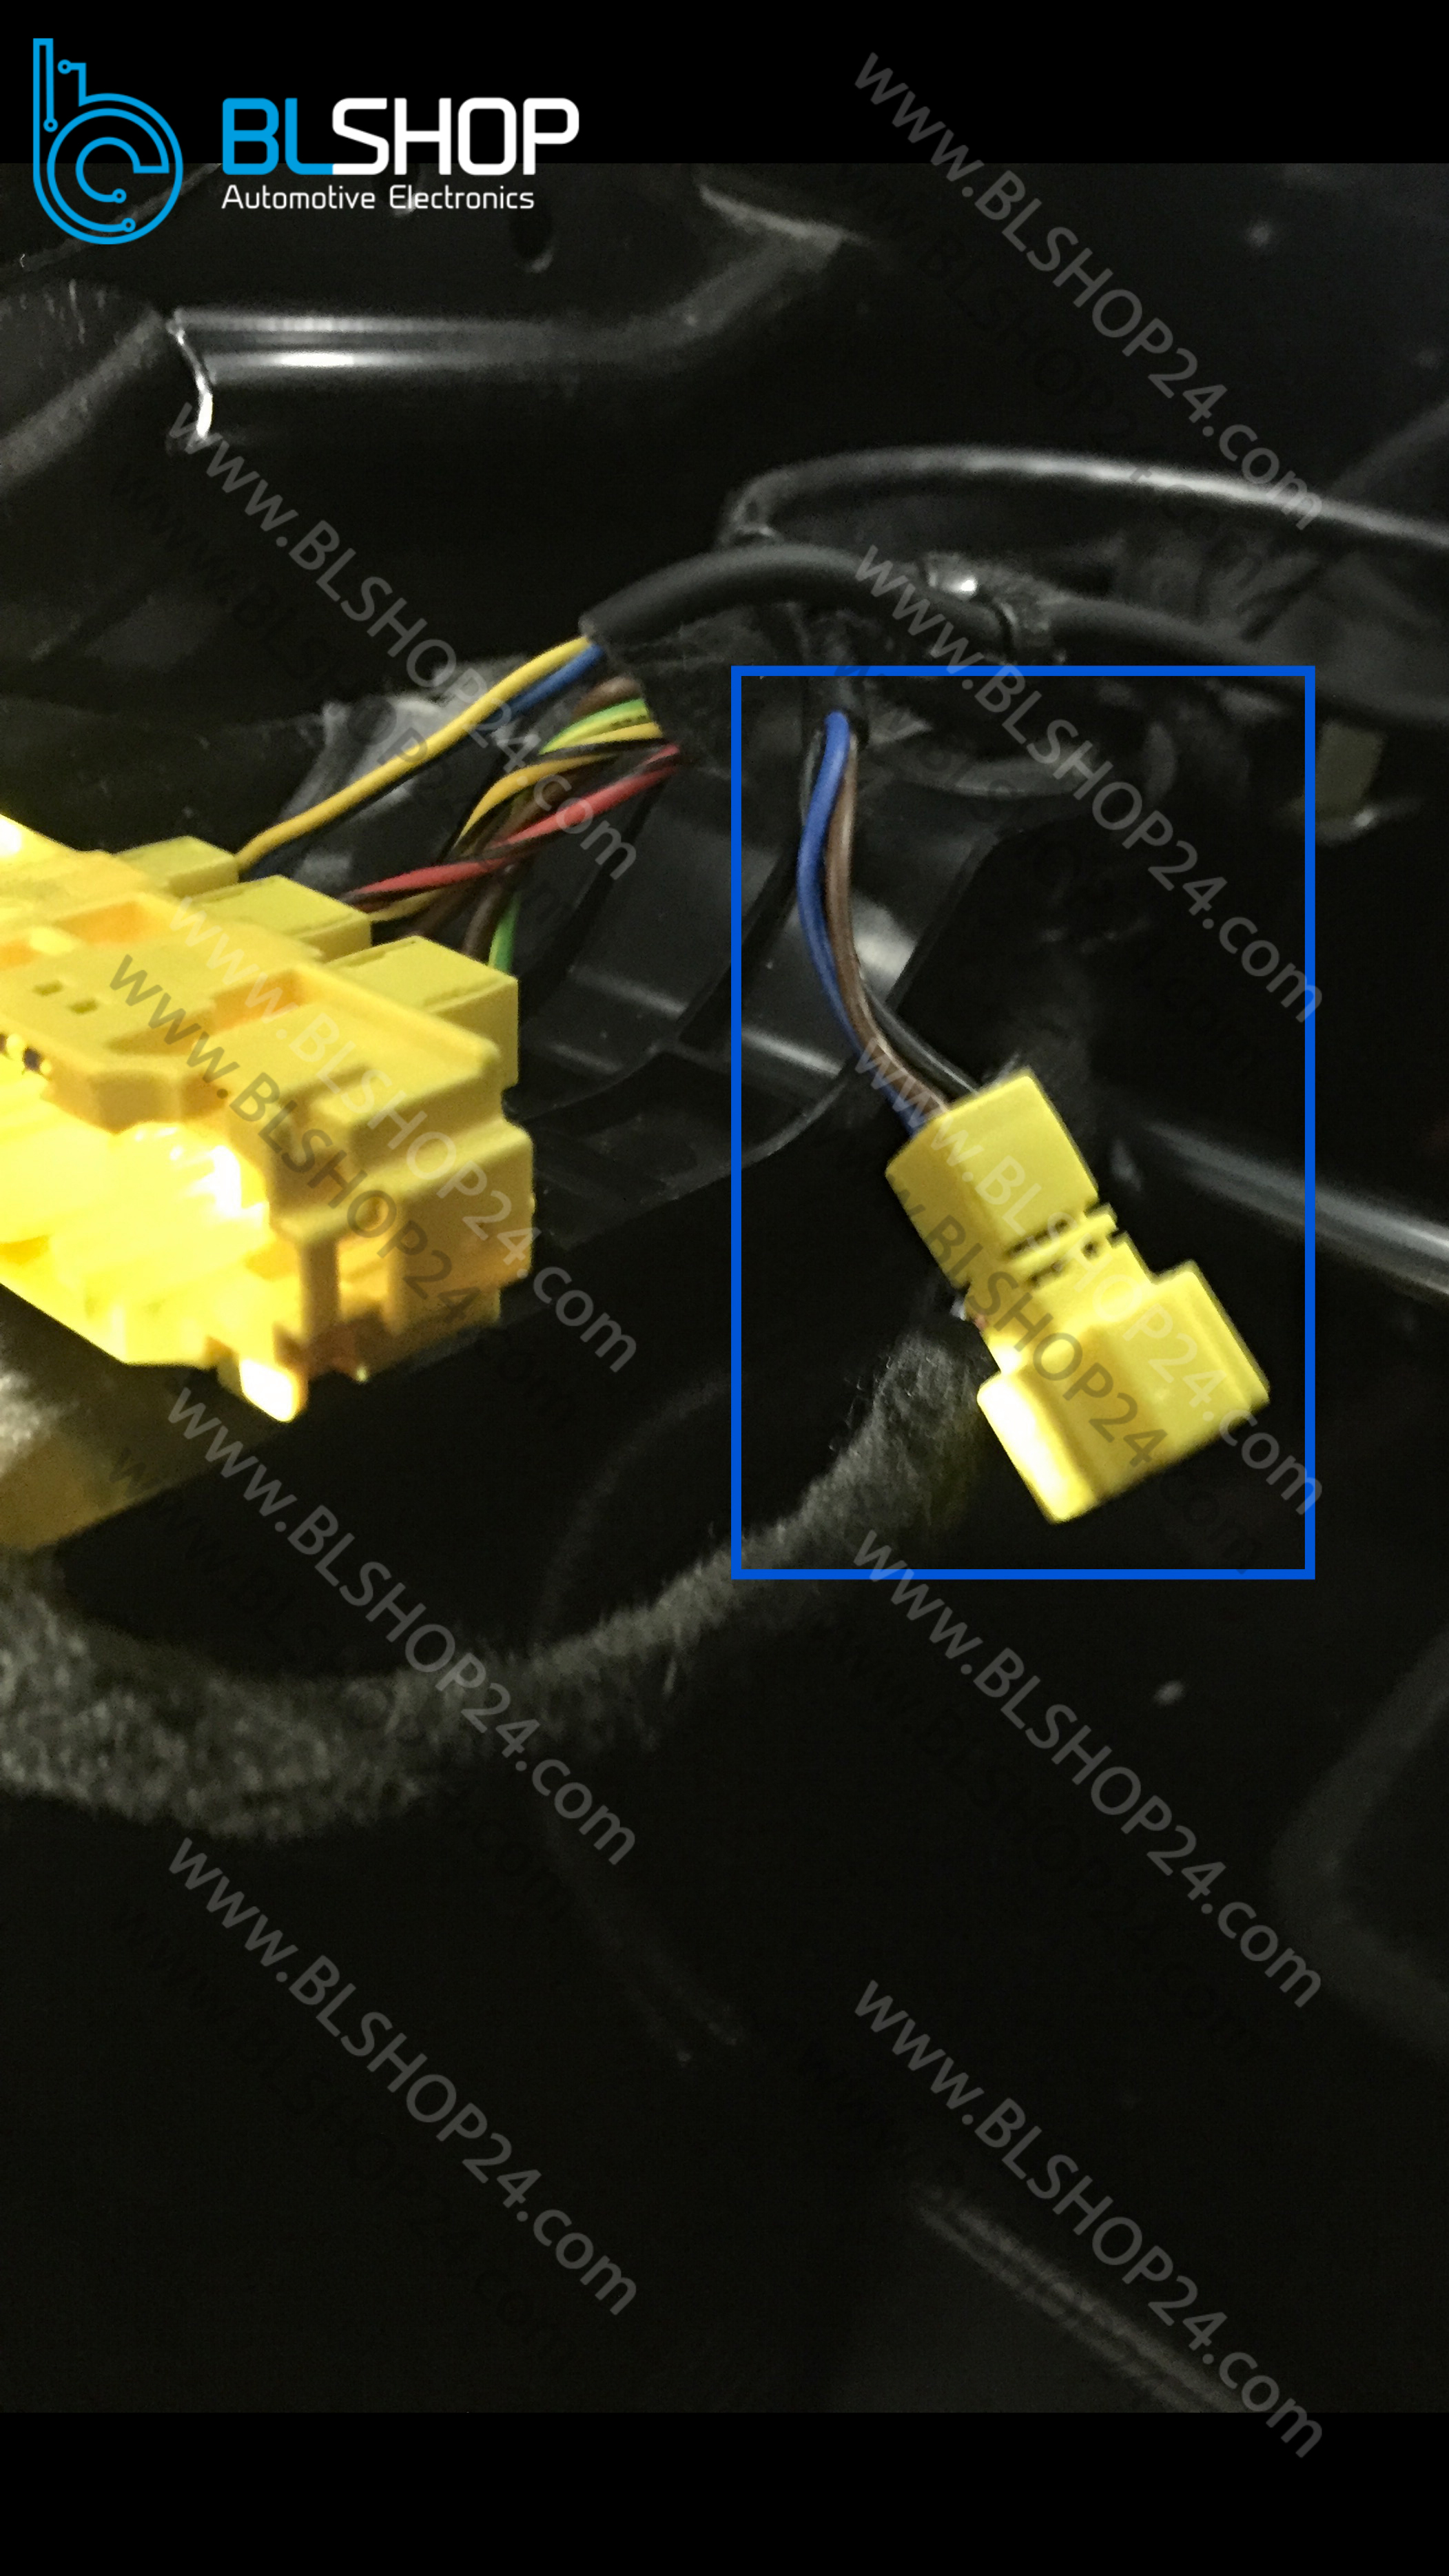


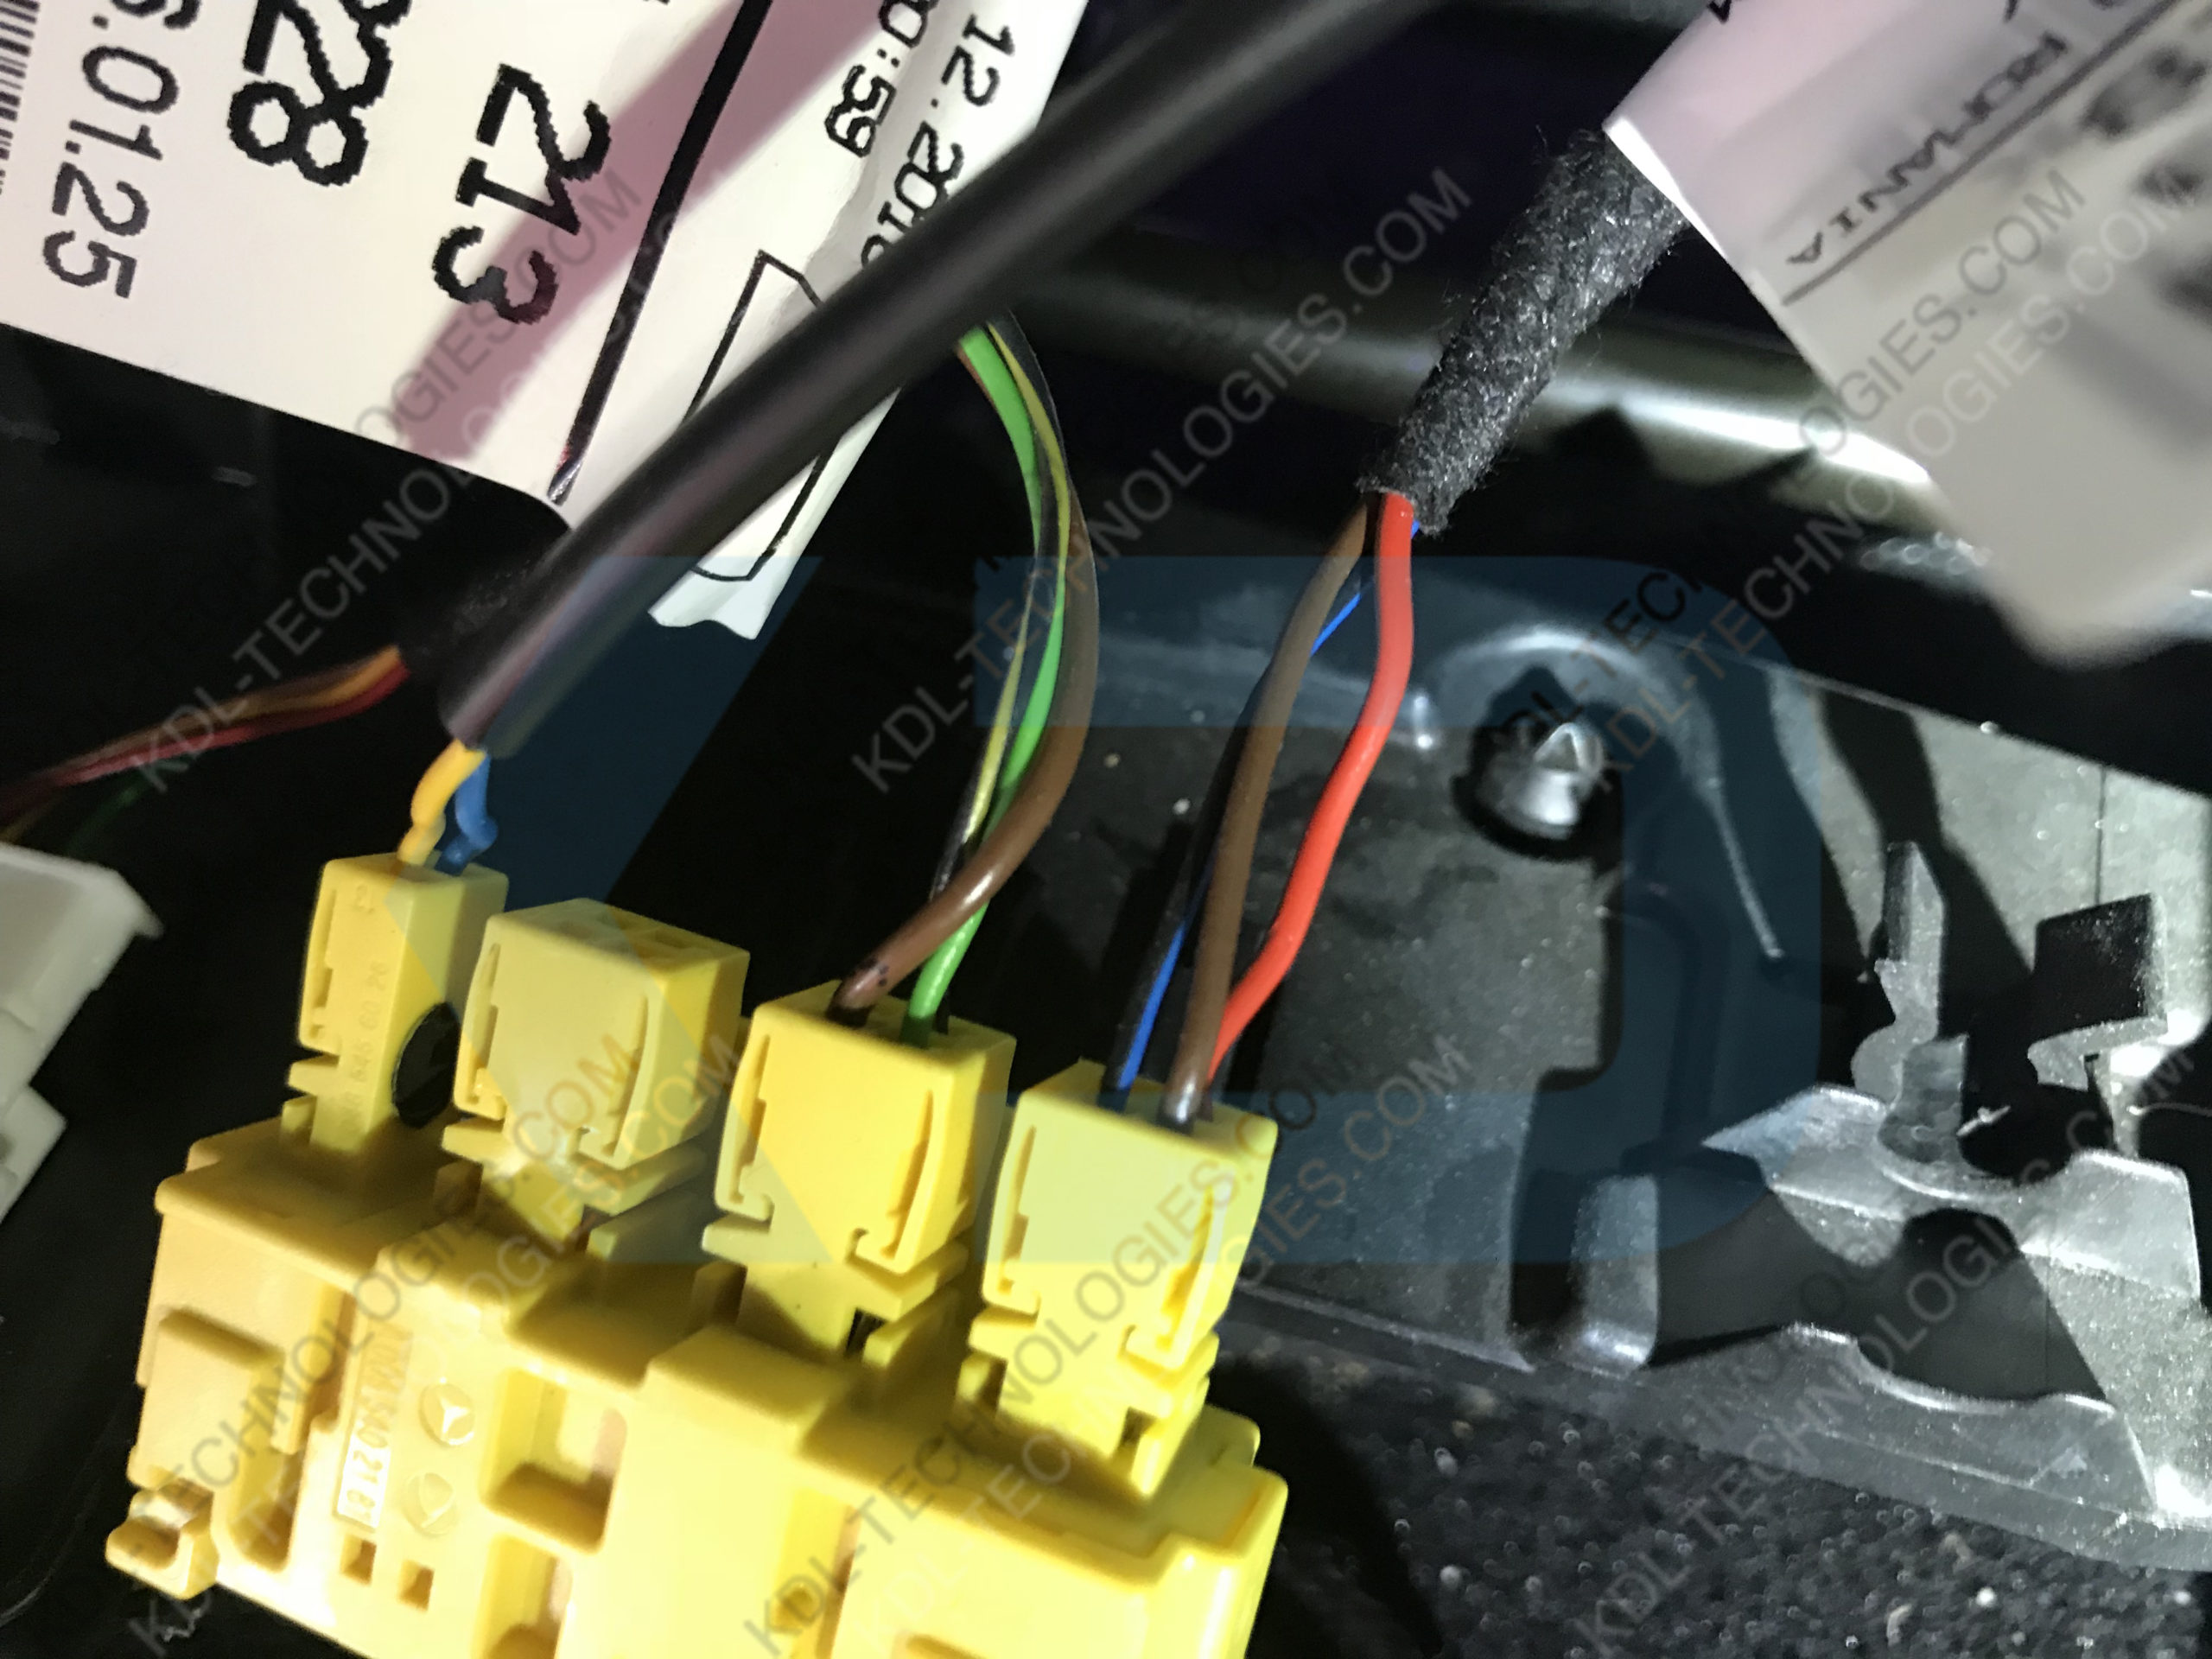
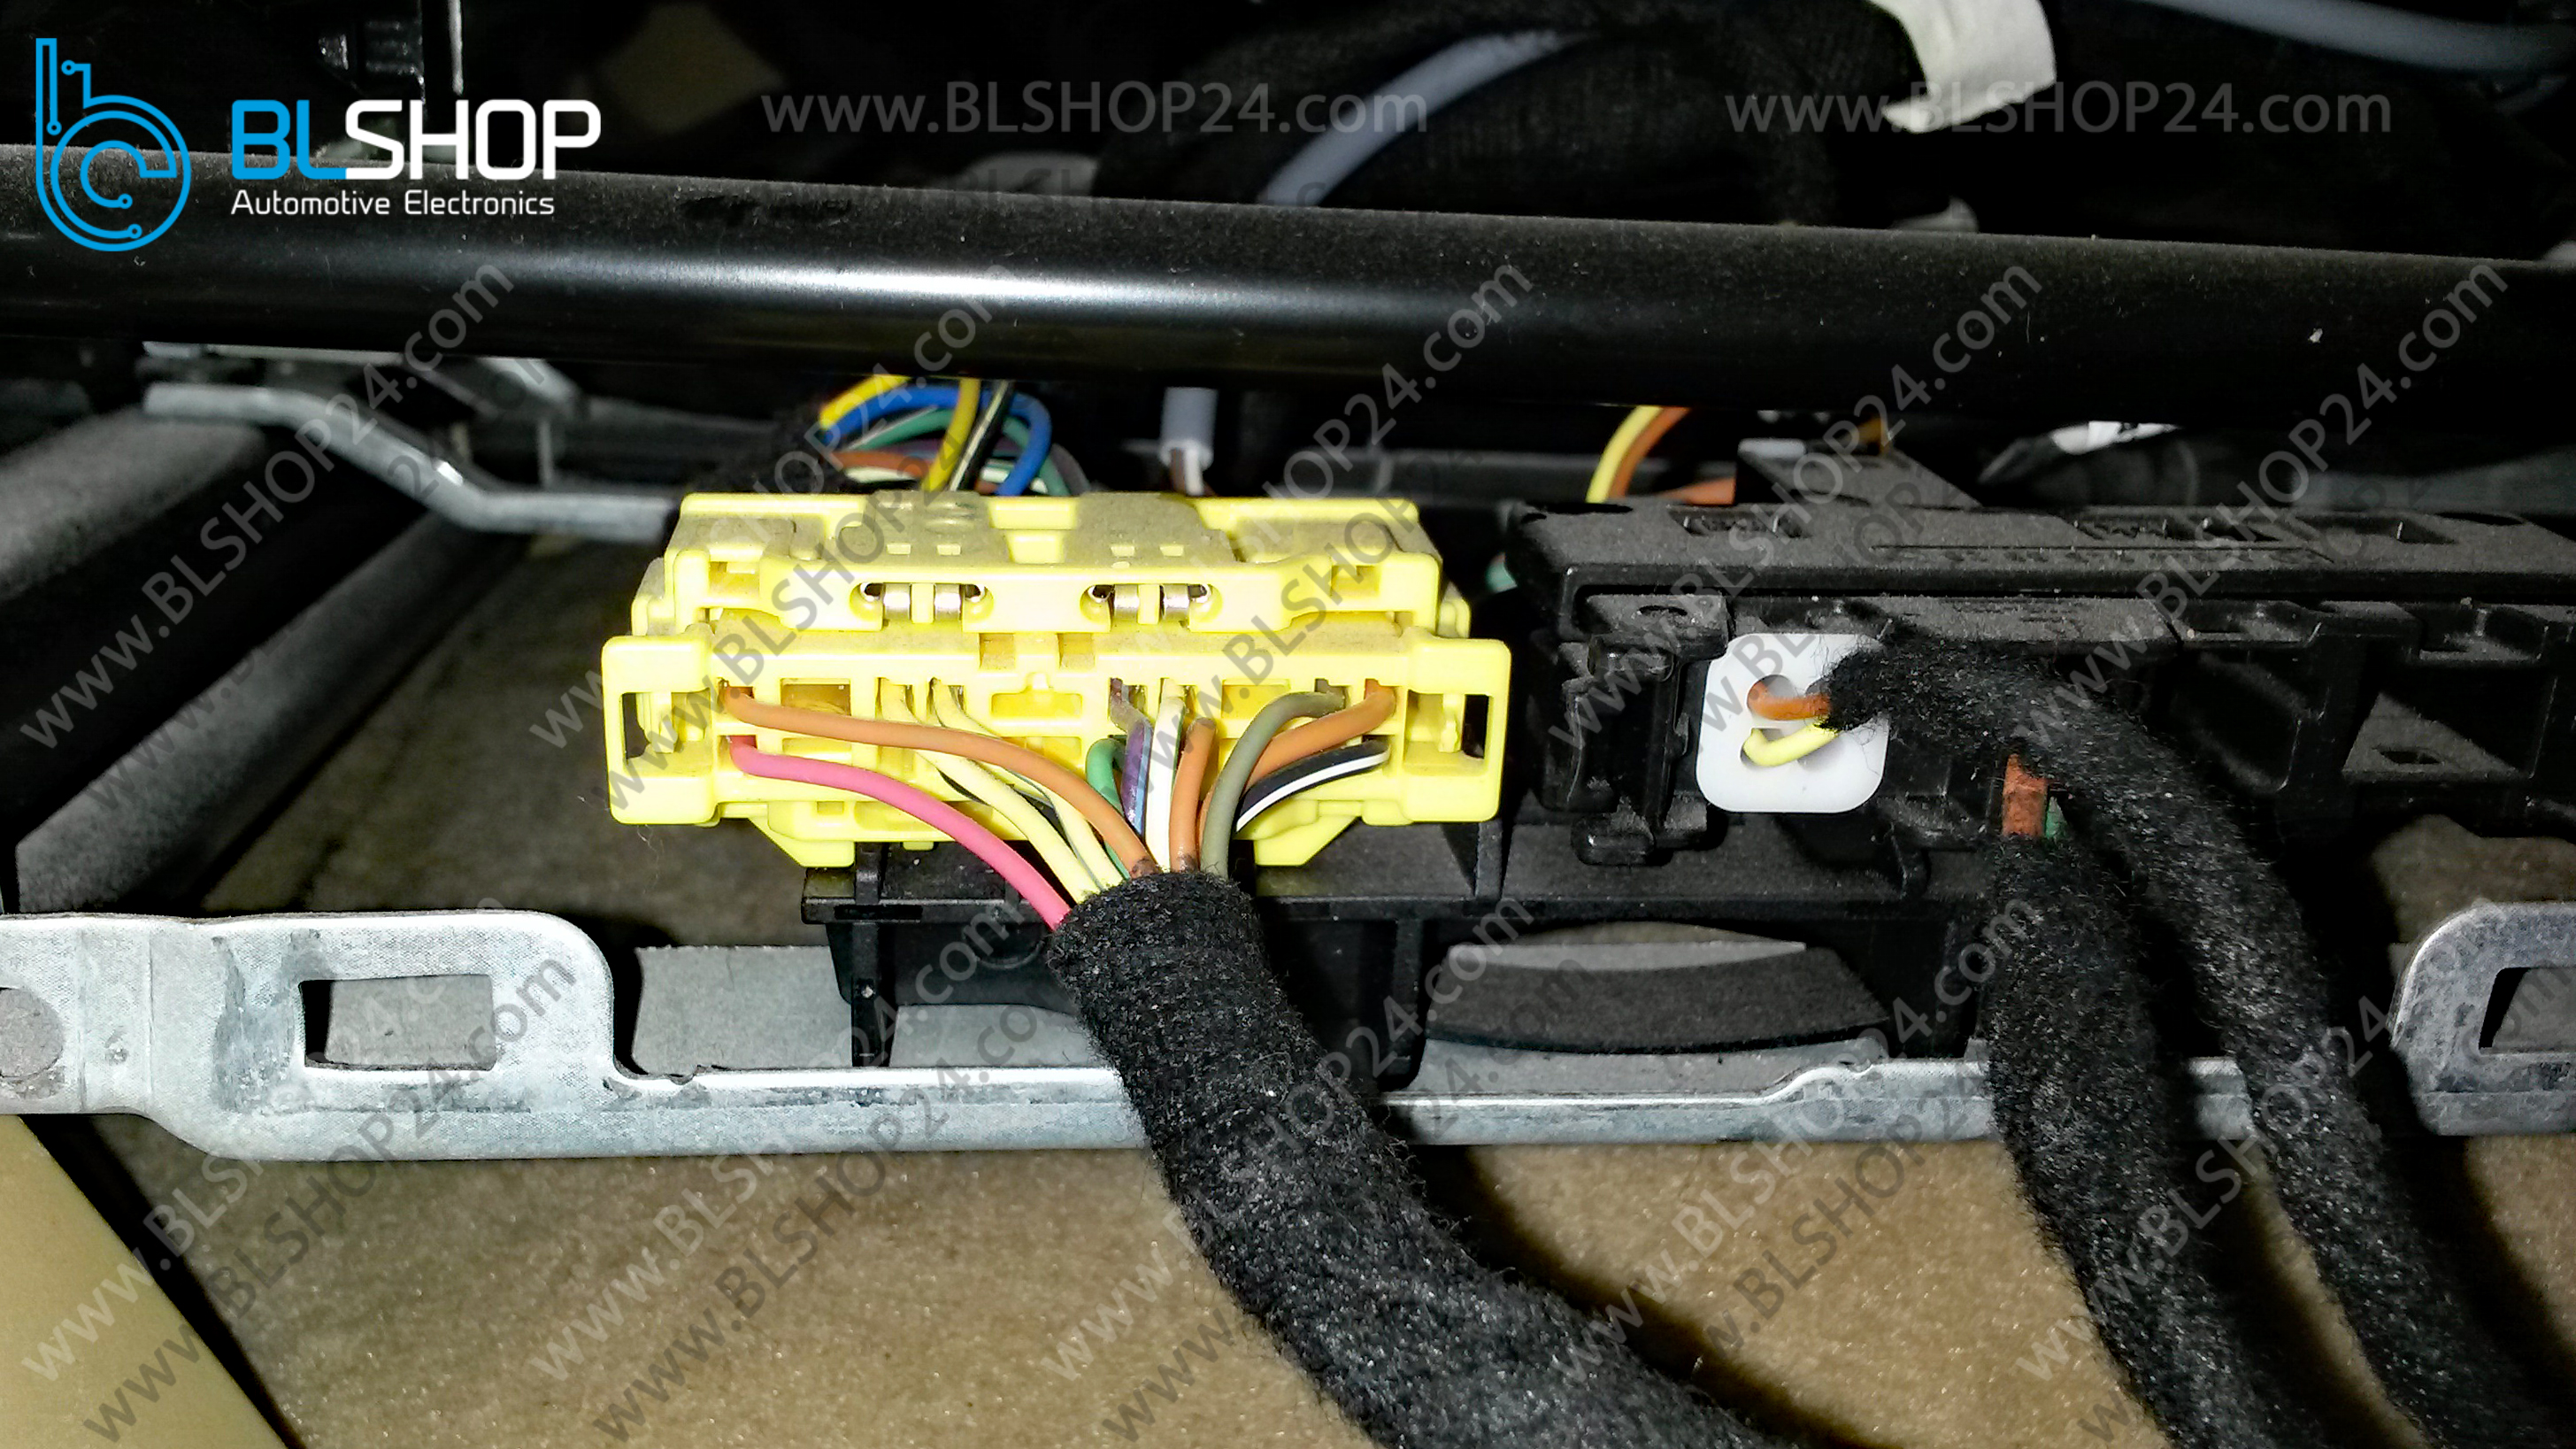
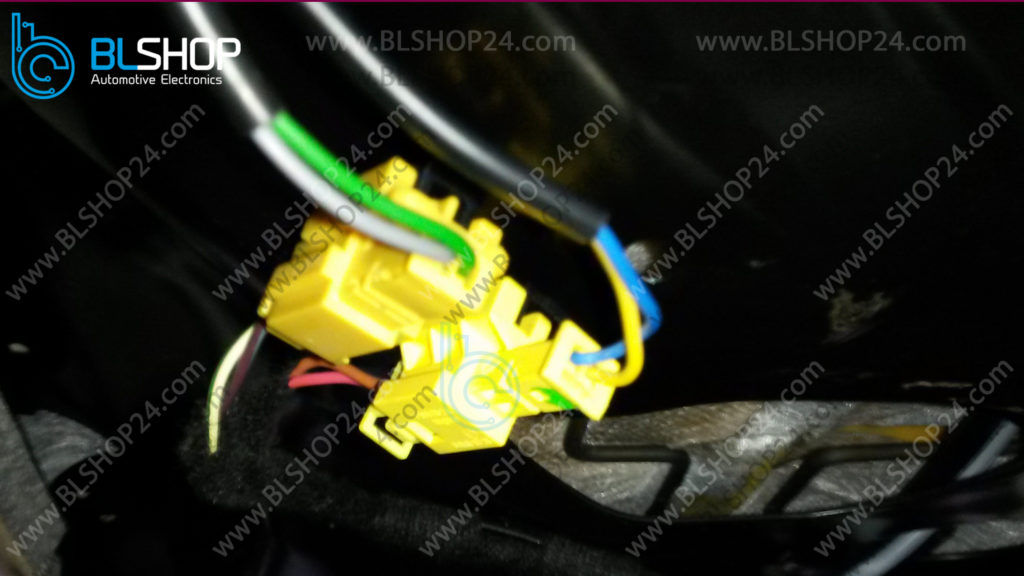
The first plug on the right is the seat belt buckle plug.

seat mat plug on the right


The first plug on the right is the seat belt buckle plug.


The first plug on the right is the seat belt buckle plug.


The first plug on the right is the seat belt buckle plug.


